


CRICUT
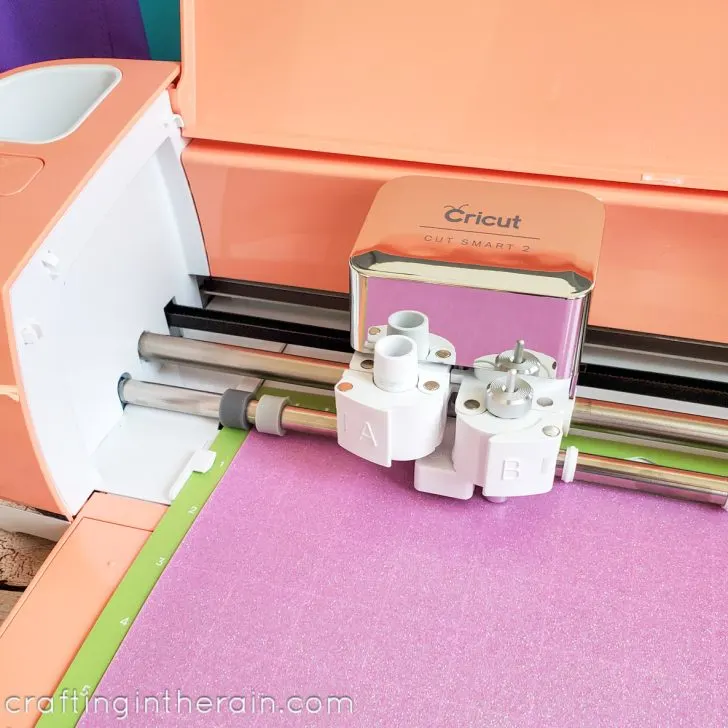
- Combine Tools in Design Space


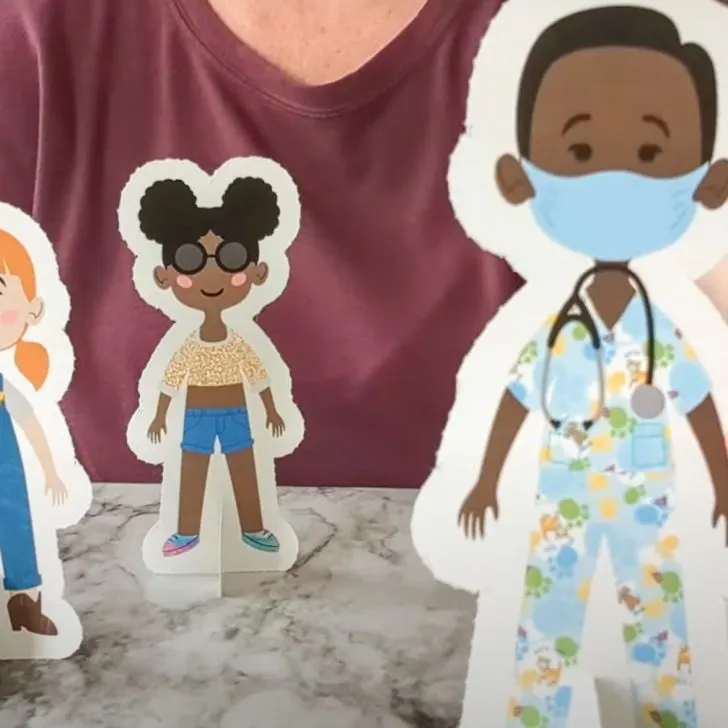
- Cricut Paper Dolls

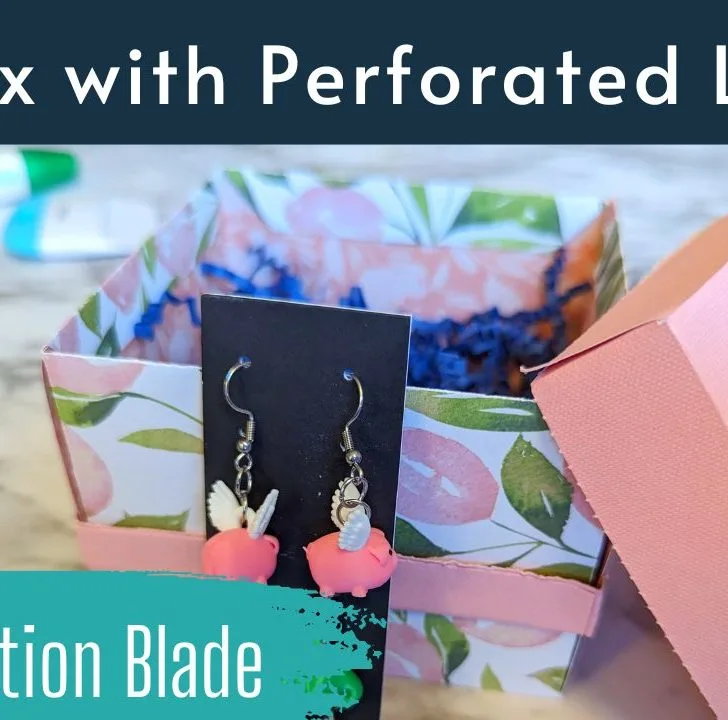
- Cricut Box with Perforated Lid


- How to Make Cards with Cricut

St Patricks
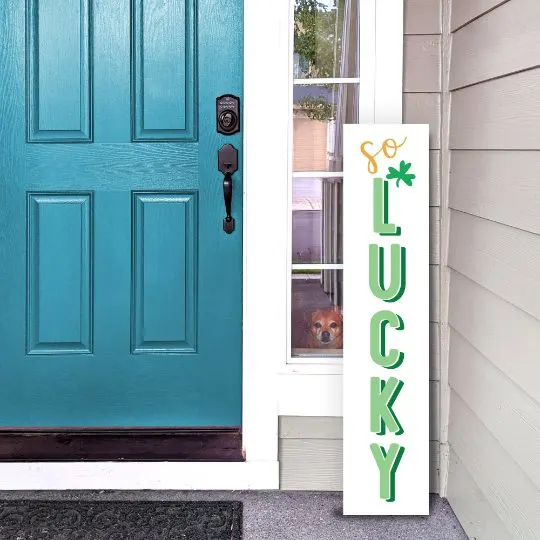
- So Lucky Porch Sign SVG


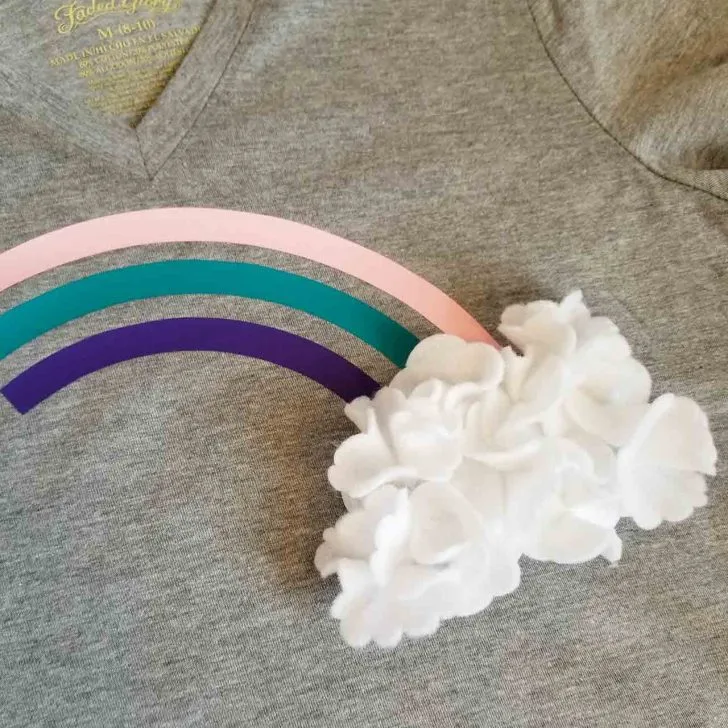
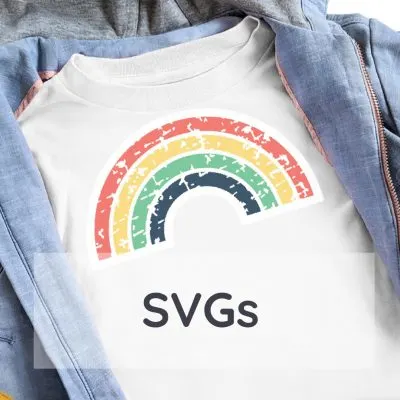
- Iron-on Vinyl Rainbow Shirt

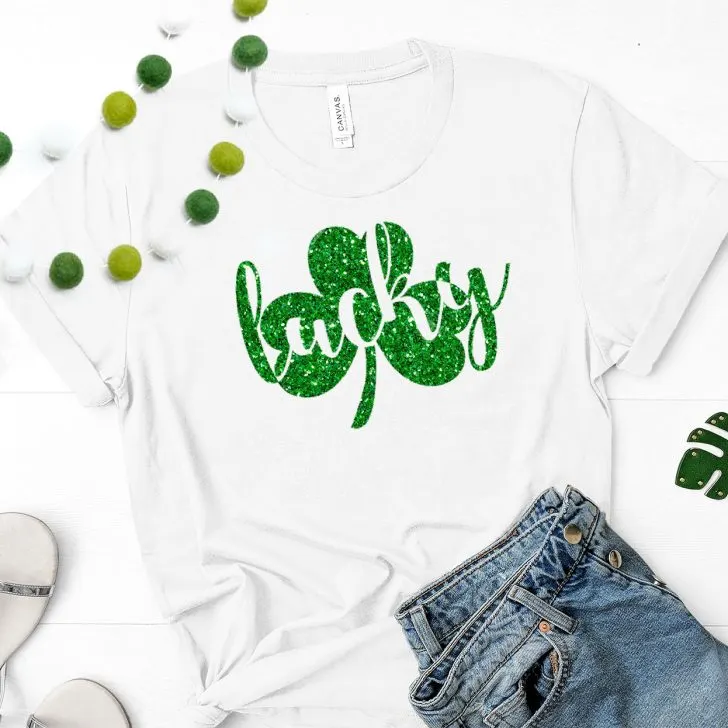
- Lucky Shamrock Free SVG

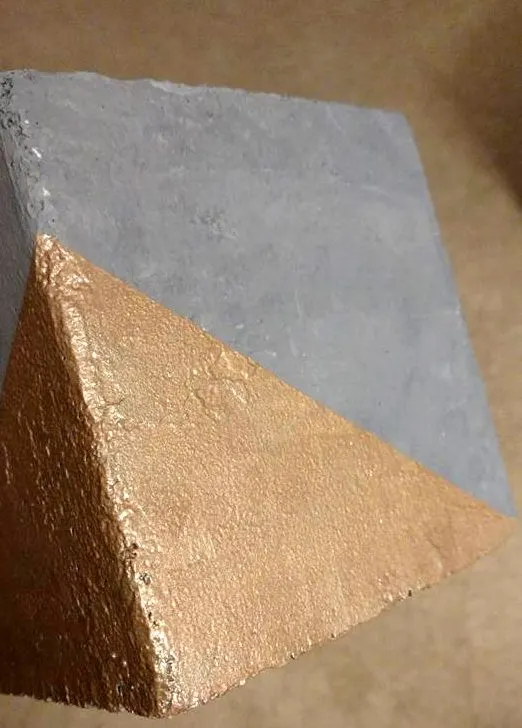
- Make Foam Look Like Concrete


This site uses Akismet to reduce spam. Learn how your comment data is processed.