Don’t get me wrong–I’m not trying to skip over any holidays here. I love November because it has Thanksgiving AND my birthday! But while browsing the Pottery Barn website the other day I came across this poinsettia pillow and knew I had to recreate it in my Christmas colors.
Click here to download template to hand cut

Pottery barn original, which is no longer for sale

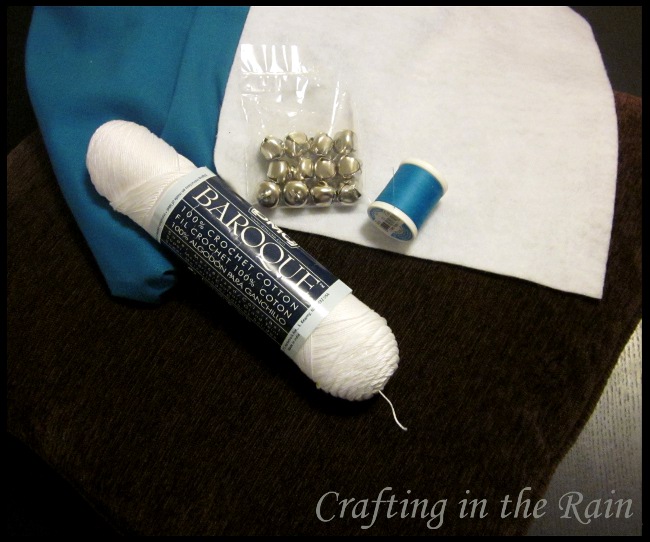
Supplies:
Felt (I used white, and used about 7 sheets)
Embroidery thread or crochet thread (I used crochet)
Pillow form or stuffing
Fabric for pillow
Coordinating thread for sewing pillow
Jingle bells (or buttons, or whatever you want to use in the middle)
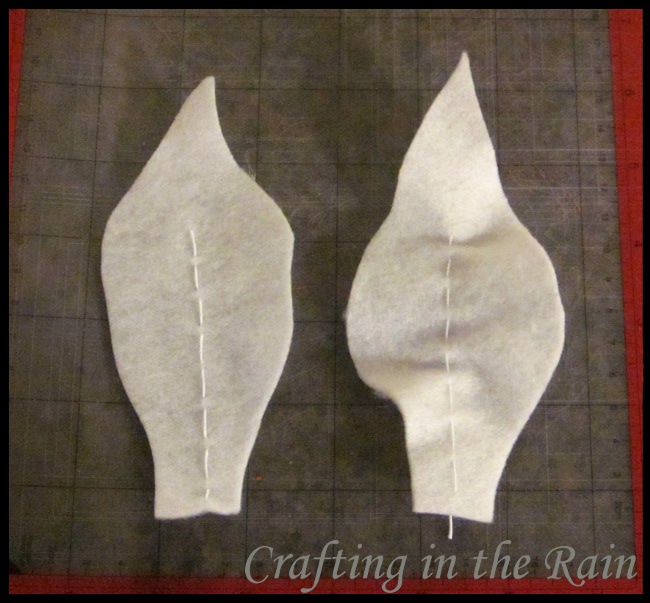
I cut out 15 petals from the felt. Five each of around 6 inches tall, 9 inches and 11 inches. After I cut these I changed the shape of the bottom a little, so that they were a little narrower. (The SVG for cutting machines already has this adjustment.)
Learn how to cut felt with the Cricut Maker here.

Using the crochet thread, I stitched lines down the middle of each petal using a longer top stitch and shorter bottom stitch. To give each petal a bit of dimension I pulled on the thread a little before I knotted it so the felt scrunched up.
Make the pillow. I had a pillow that I was just going to recover, so I measured it out and sewed a sleeve to fit around it. I used pillow cover instructions from Madigan Made.


How to make a poinsettia pillow
Next, it’s time to build the poinsettia. Lay the pieces out on top of the pillow to get the arrangement you like. The large petals go down first. The medium ones go in each of the spaces, and the smallest 5 go on top, lining up with the bottom 5. To make it easier on myself, I used hot glue to attach the petals to each other as I built each layer. (But don’t glue it to the pillow yet!)

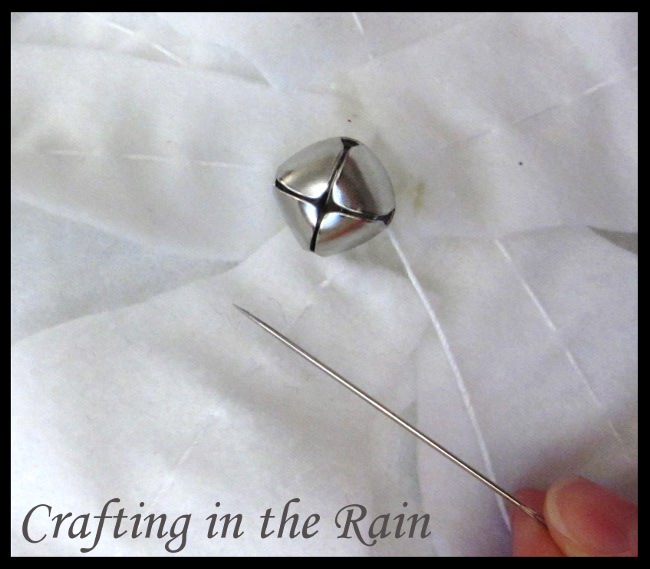
Sew the bells into the center of the flower.

Attach flower to the pillow. Here you can do whatever you’re most comfortable with–stitching or gluing. I chose glue! Since it’s a decorative pillow, it won’t get much use, and the jingle bells will certainly discourage any napping on it.
Now, go make your own poinsettia pillow to match your Christmas theme–and then I’d love to see it! Have fun!
**Lindsay at Country Girl Home just sent me a link to the one she made. It’s beautiful…check it out!**
**So did Mary from Sweetwater Style**
**Michelle from The Gluten Free Wife made several for a gift exchange**
DIY Christmas Throw Pillows - Kids Art & Craft
Saturday 26th of November 2022
[…] Image Source/ Tutorial: Crafting In the Rain […]
20 projets de couture de Noël charmants - Un nid cultivé - mes emplois préférés
Saturday 11th of September 2021
[…] Oreiller Poinsettia de l’artisanat sous la pluie […]
Richard BlackRose
Tuesday 2nd of August 2016
Beautiful!