
Is everyone sick of pallet art? Well, I kind of hope not, because I finally got around to making my own, and it’s my entry for the American Crafter week 2–Kids. Honestly, I struggled with what to make. My husband said we should just make a kid 😉
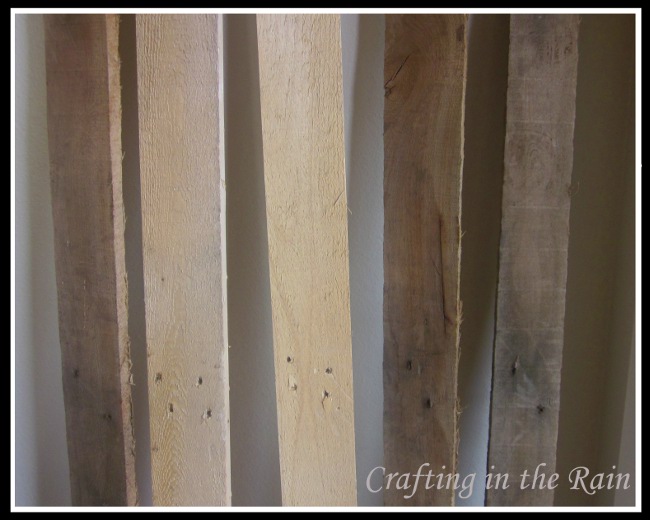
I decided to go with my gut and knock out a project that’s been on my list for a while. I mean, I’ve had these pallets sitting outside since November, and it was time to do something with them already!
I realize that pallets aren’t exactly original anymore, but I really love how this turned out. And regardless of whether I make it through in the competition or not, I’m so happy that this will finally be hanging on the wall of my son’s room.
Here’s my breakdown:
1–Pull pallet apart. **Wear gloves (and protective glasses are probably a good idea too)**
Just as people have said, this is hard work–and sometimes the wood starts splitting. It was made slightly easier by using our Wonder Bar.
 |
| Source |
I didn’t completely disassemble the pallet either, I just took the pieces I wanted (the skinnier ones) off of 2 pallets. The older wood pulled apart easier than the new wood. But hammering the nails out of the slats was easier in the new than the old wood. Once the nails are out, sand all the pieces. We’re going for “rustic” here, not “deadly.”
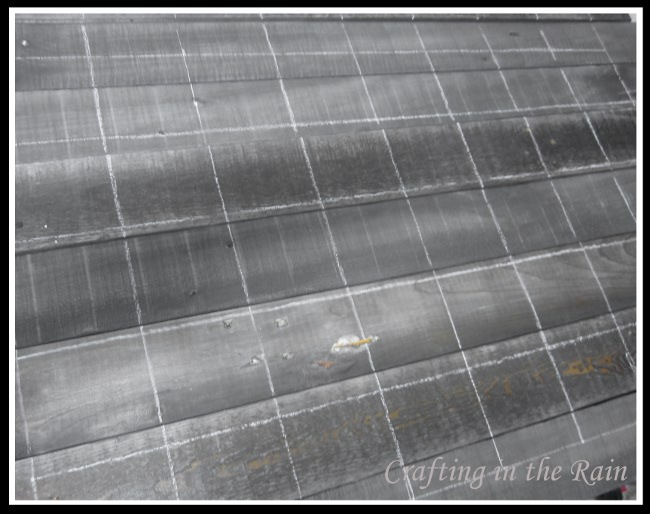
2–Age the wood. I used the method I’ve seen a few times online where you soak steel wool in vinegar for a day. Then you make up a cup of tea and brush the tea over the wood. When it’s mostly dry, brush the vinegar over the wood. Over a couple of hours it will darken. Mine actually turned nearly black. My tea solution (which I actually don’t drink, so I bought super cheap stuff just for this project) was a cup of water with 4 tea bags. My vinegar solution sat for about 3 days and was super dark and gross 🙂

Weaker mixtures of both may give less black results, I don’t know. With the dramatic difference in coloring of my pieces of wood, it was nice that they all ended up pretty evenly stained in the end.
3–Assemble wood piece. I put the wood out how I wanted it, turned each piece over, and screwed extra wood to hold them together.
4–Picture. I found a train image I liked, printed it, and drew one inch grids on it.
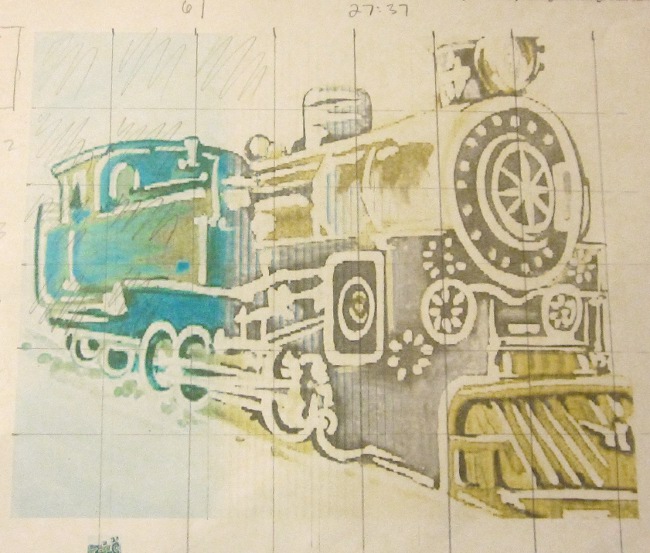
I then measured my wood piece and figured that the train would fit best with each square representing 4 inches. Using chalk and a ruler I marked 4 inch lines all across my boards.
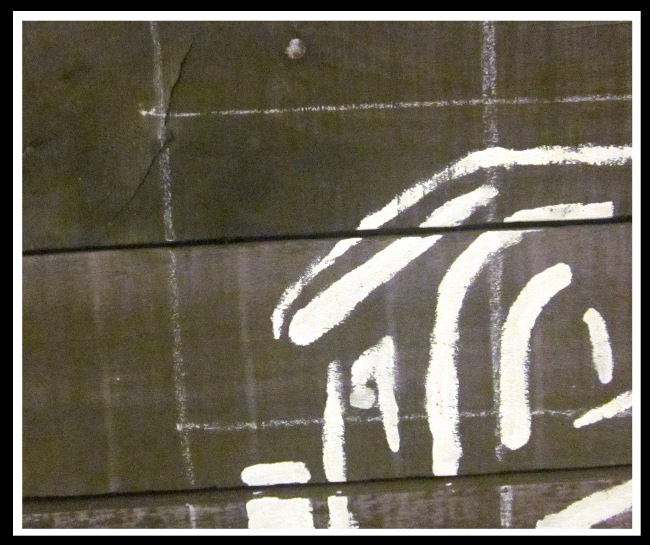
5–Transfer image. This is the scariest part, but after a few squares are done it gets really exciting. I started out drawing with pencil first, but it was really difficult to see on the dark wood of course, and would be nearly impossible to remove later. I decided to just go for it with the paint. Matching up a square on the paper to the same one on the wood, I started painting the design with white paint. It felt like it took forever, and by the time I was done, my neck was killing me. (I get why artists use easels!)
6–Step back and let it dry. When I was done painting, I walked away from it, turned around, and thought, “Wow, it totally looks like a train!”

Love the look but want a light version? Check out how I made foam look like wood!


(affiliate links)