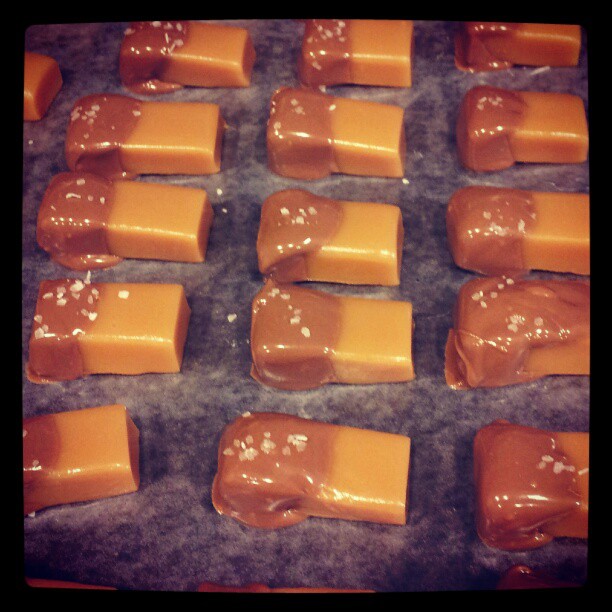
This caramel recipe comes from my husband’s grandma. After making it the other day, and sharing a picture on Instagram, I got a couple of requests for the recipe. Here it is for you, but don’t expect any step by step pictures. I wasn’t trying to take pictures while stirring constantly to make sure I didn’t scorch anything 🙂
I do have a couple of tips to share along the way, which may be especially useful if you’ve never made caramel before.
First, check your candy thermometer. Here’s a great tutorial on how to calibrate a thermometer. Totally easy for me since I’m at sea level. Boil some water on the stove and take note of what your candy thermometer reads in the boiling water. Mine only said 210 degrees, so it was 2 degrees off what you’d expect for boiling water. Since it was 2 degrees LOW, I needed to SUBTRACT 2 degrees from the end temperature of my candy. If it were reading anything above 212, I would add that to my final candy temperature.
Next, make sure you have all your ingredients measured and prepped before you turn on the stove at all. And be prepared to spend at least the next hour of your life at the stove stirring. Caramel is not a quick process.
Ok, now for the recipe:
Line an 8×8 pan with foil and generously butter the bottom and sides.
2 cups sugar
1 cup light corn syrup
1/8 tsp salt
6 oz evaporated milk (1/2 a can)
2 cups cream, divided
Pour evaporate milk into a small pyrex measuring cup (makes it easier to drizzle in later)
Have 1 cup of cream set to the side.
In a heavy bottomed pan on the stove, stir together sugar, corn syrup, salt and 1 cup of cream. Turn on heat to medium and bring to a boil, then boil for 2 minutes, all the time stirring. SLOWLY add in the other cup of cream and then drizzle (so even slower!) in the evaporated milk. You don’t want to add the cream or milk too quickly because you want it to keep boiling the whole time. And keep stirring!! Also, keep it at medium heat. The temptation is there to turn it up higher to get it to boil faster or raise the temperature quicker, but it will scorch on the bottom and you’ll have tiny burned bits all through your caramel.
Be aware too that as you’re watching the thermometer, at some point it will probably stall. You’ll sit at one temperature for over 5 minutes and start feeling a little crazy! Just keep stirring and let it keep boiling…it will move again! And sometimes quickly, so always keep an eye on the temp.
Ok, so now you’ve reached your magic temperature of 232 (or in my case 230, since I had to subtract 2 degrees, remember?)
Immediately pour the caramel into your prepared pan, but don’t scrape the bottom or sides at all, because it has already started to burn a little since you stopped stirring, and you don’t want to scrape that into your actual caramel. It’s better to feel like you left a bunch of candy in there than to mix in some yucky burned sugar.
Now leave it alone over night, or several hours til it’s cooled completely.
Pull the whole slab of caramel out by the foil and place on a cutting board. I cut mine into 10 strips, then each strip into 6 pieces.
You could wrap them at this point, but I took it a step further and dipped one end in chocolate and sprinkled them with coarse salt. I used milk chocolate, since that’s our preference here, but if you like semi and dark chocolate, that would be divine too.
I put all my dipped caramels into the fridge for a little bit to speed up the hardening, and then wrapped them all up in pieces of wax paper. I use my straight edge paper trimmer to cut several pieces at once so it goes quicker too.
And there you have it. If you have any questions, let me know, and good luck!

