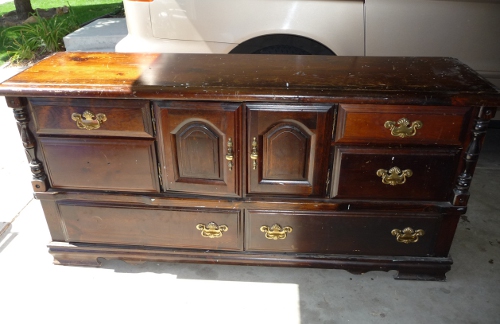
This post comes to you from my friend Kathi. She transformed a free dresser into an amazing TV stand, and it just must be shared 🙂 She’ll tell you all about it– Our big old tube TV had been on the fritz for awhile. We knew our days with our hand-me-down TV were coming to an end. So, we started shopping for a new TV and putting money aside for it. But then I realized that to get the TV we’d really like to have, we’d need a new entertainment center of some sort because our current one would only hold a fairly small widescreen TV. The idea of buying an expensive piece of electronics and a new piece of furniture made my budget cry. So instead, I got crafty. I thought about starting from scratch and trying my hand at a Ana White design. But then I realized I wasn’t quite brave enough (yet). I had seen some old dresser turned TV consoles, and I thought that I might be able to handle that. I went on Craigslist and found a dresser for free, and my awesome hubby picked it up.
It wasn’t in terrible shape, but it wasn’t looking too pretty either. And it REEKED of smoke.
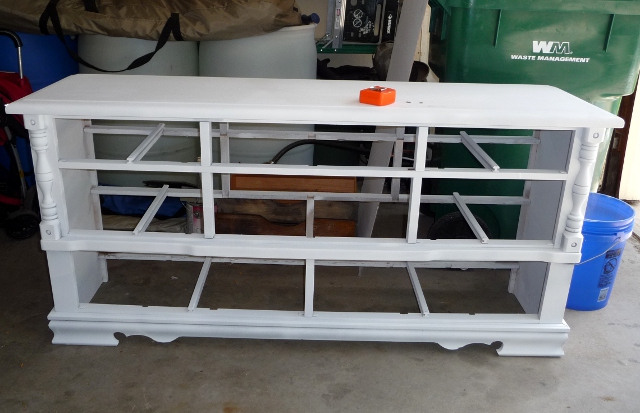
I started by using my electric sander to get down to the wood. Then I took the back off so I could get in there and build some shelves.
I used some putty and spackle to fix some imperfections in the wood. Then I primed it with an oil based primer to get rid of the smoke smell. (Sherwin-Williams Oil Based Multi-Purpose Primer)
Now was the tricky part (for me, at least). I’d never really built anything before, so even though I can now say it wasn’t very hard, at the time, it was kind of overwhelming for me. I measured the openings where my 2 shelves would go (and learned the hard way to allow for how much the saw blade will take out of the MDF. Duh.) I used 1/2″ MDF and cut bottoms, sides and backs for my shelves.
Before I glued them in, we (my husband and I) used a hole saw (similar to this one) to cut holes in the back of the shelves for cords to go through. I just used Gorilla Glue to put the shelves in. That stuff really expands, so don’t use too much. As it was drying, I regularly checked on it to wipe away any excess glue. I had to get pretty creative on how to clamp the shelves down. I turned the dresser on its side and back and used books, heavy tools, clamps and all sorts of things. Hey, it worked.
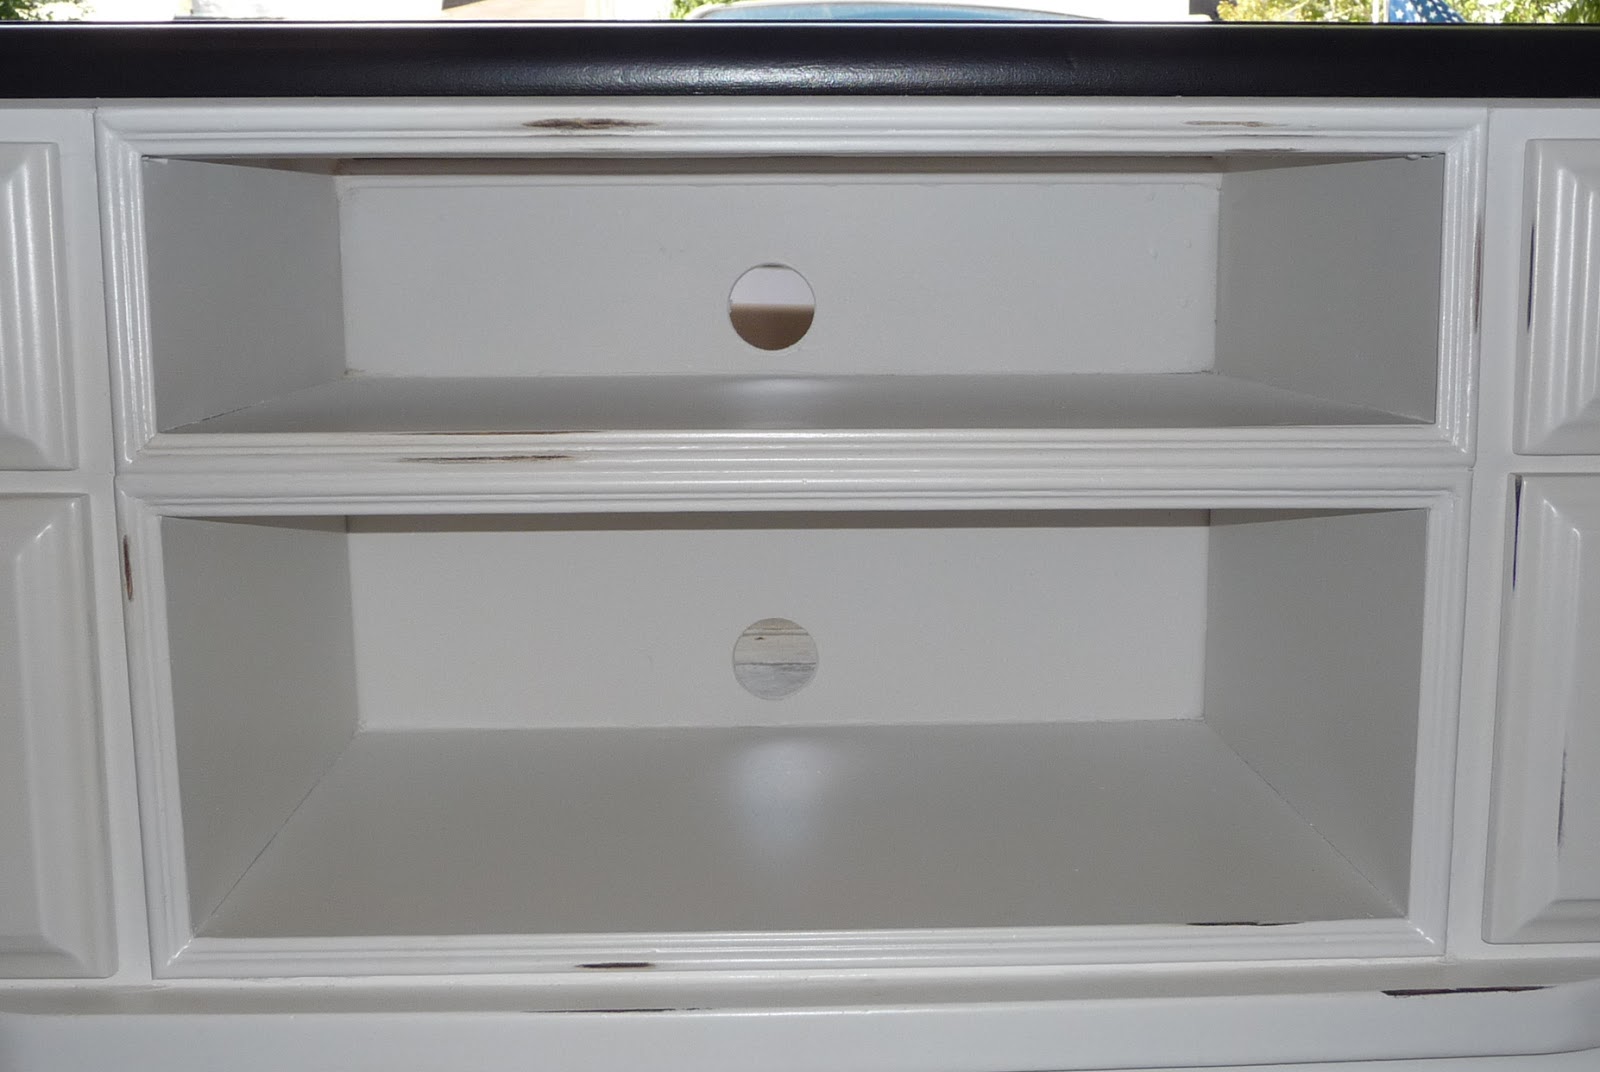
So, the shelves look really unfinished at this point, so we used a miter saw to cut small decorative trim to cover the MDF boards. I didn’t take a picture of that before it was painted, but here’s an up-close of the painted/distressed trim. We nailed them in using finishing brads. And then I raided my scrapbook supplies and used my eyelet setting tools to sink the brads in the trim and then used spackle to cover the small hole.
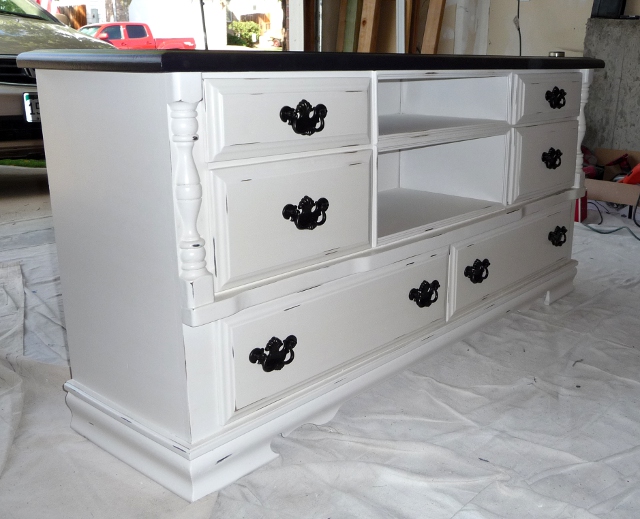
Now we were ready to paint! While I was doing of the prep work, I happened upon a picture of a dresser repaint that I loved, and I used that as my paint inspiration. I used Krylon Oil Rubbed Bronze spray paint to paint the existing hardware. I do wish I had spray primed it first. I might end up having to redo those at some point.
We were able to borrow a small Graco Project Painter paint sprayer from a friend (we used it for the primer, too). I used Sherwin-Williams ProClassic paint in Marshmallow, thinned down with XIM Latex Extender for the sprayer. In between coats, I did a light sanding and then used a tack cloth to really get it cleaned off. It took a few coats of paint (3 on the drawers and 2 on the dresser).
Then we used a sponge roller to paint the black (Sherwin-Williams All Surface Enamel, thinned a LOT with the Latex Extender) on the top. I did this several times trying to achieve a perfect finish. I didn’t get perfect, but I got close.
I hadn’t decided yet if I was going to distress it or not. But then I realized that I hadn’t smooth out all the imperfections in the wood (back after I primed). If it wasn’t going to be perfect, it was going to look like I meant it to be that way. So, I grabbed a sanding block and started distressing. I did rub a little bit of dark stain on (and then quickly wiped off) some of the distressed parts that weren’t dark enough.
And at last, we used the sprayer to put on a coat of water based polyurethane to seal in the awesomeness. And then we were finished.
This project took me several weeks to complete (an hour here, an few minutes there), and I can honestly say it was completely worth it. It is my absolute favorite piece of furniture in my house. And it is so fun to be able to say that my husband and I did it together.
Doesn’t that look amazing you guys! Great job Kathi–I really love it!