
I’m getting ready to go on a trip soon and it’s going to be awesome! (No, it’s not SNAP–sniff–who wants to claim me as an honorary roommate for the event?)
I’ve needed a better way to store some of my makeup and brushes and while checking out the options at the store I thought, “I could totally make something like that.” So I did. And you can too!
Supplies
- 2 coordinating fabrics–1 as outer fabric and 1 as inner fabric (2 fat quarters or 1/3 yards cut) **Go ahead and cut the selvage off of the one side of your fat quarter, if you’re using those….it’s the finished edge usually with words printed on it. Your final width then will be about 21 inches.
- iron-on (fusible) interfacing 10 x 21 inches
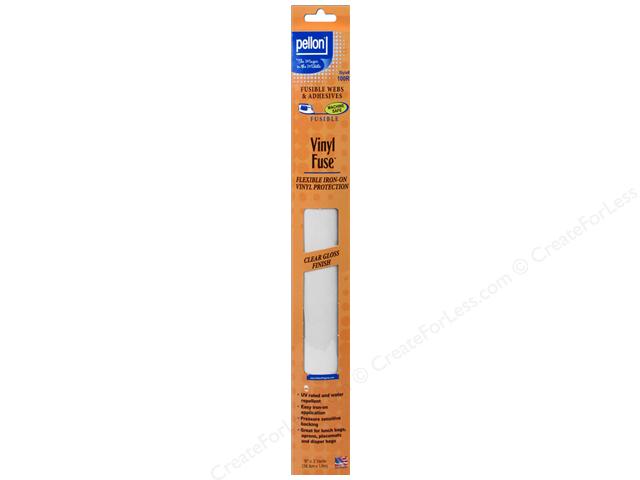
- vinyl fuse 10 x 21 inches…makes it so you can wipe the inside clean
 |
| Source |
- ribbon 30 inches long…melt ends with a match so it won’t unravel…please do this carefully! 🙂
- matching thread
Cut outer fabric to 10 x 21 inches
Cut inside fabric to 10 x 21 inches and 8 x 21 inches
Iron interfacing to wrong side of outer fabric
Iron vinyl to right side of inner fabric

Fold 8 x 22 inch piece of inner fabric to make a long 4 inch piece. Pin raw edges to bottom of larger inner piece.

Measure lines on a piece of freezer paper or tissue paper to use as a guide for sewing the pocket dividers.
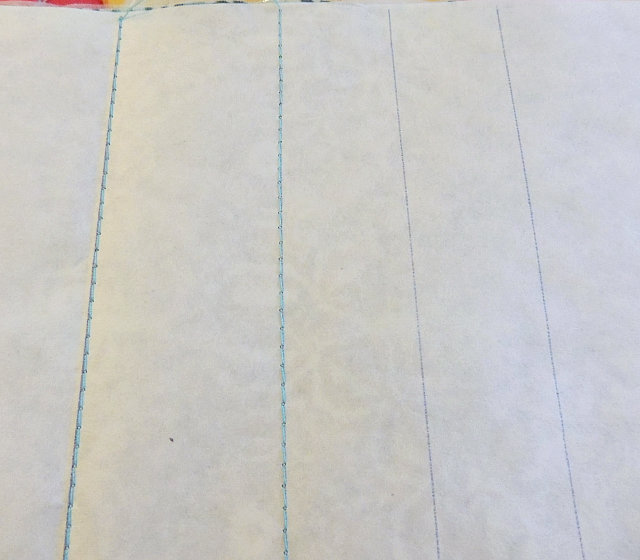
Change these up as needed, but for reference, here are the measurements I used…lines at the following inches from the left:
3_4.5_3_1.5_1_1_1.5_1.5_1.5_.75_1.25
(the tiny one is where I have my eye pencil)

Secure the paper to the inside fabric layer and sew all the lines from top to bottom, then tear off the paper.
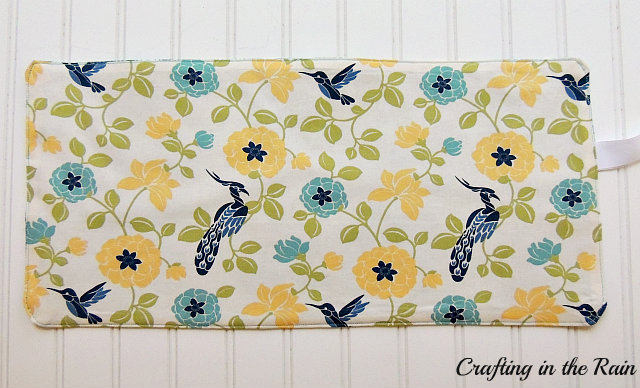
Lay outer fabric (now with sewn pockets) face up and outer fabric face down and pin together.
Fold ribbon in half and pin the fold into the seam on the left, making sure ends stay in the center to not get caught in any stitches. Just as a matter of preference, I wanted the ribbon tie to be slightly above center so that it wouldn’t cover up any of that pretty peacock on the front 🙂

Sew around with 3/8 inch seam leaving about 5 inches open.

Trim corners and turn inside out. You can push corners out to a point or leave them a little more rounded like I did.
Iron out flat, but remember don’t put the iron directly on the vinyl inside!
Top stitch about 1/8 inch from the edge all the way around and add all your goodies to the inside, fold and tie. Let me know if you have any questions!

Then, because I had so much fun making the first one, I’m working on a second one with some different fabric. I’m trying to decide if I should make it available for purchase or offer it in a giveaway. What’s your choice?

Toni Hamilton
Tuesday 5th of April 2016
To all my family and friends you have just viewed your Christmas gift. Love it.