This post is brought to you by Silhouette America. All thoughts and opinions are my own.
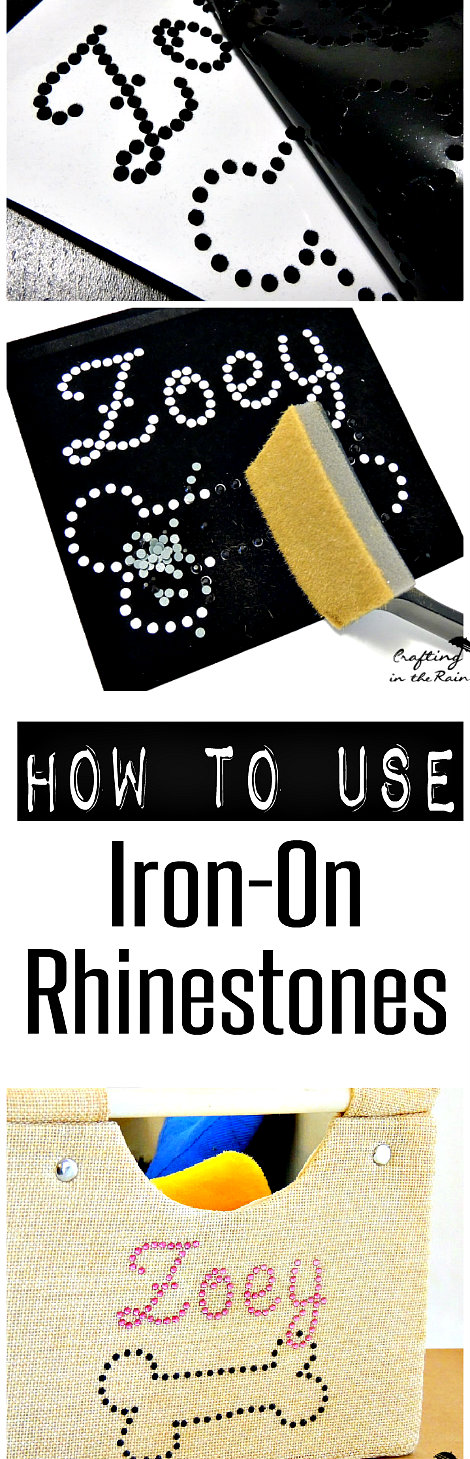
{Learn how to use rhinestones with the Silhouette machine}
Who here has made their own rhinestone template before? I never had until last week and it was so fun. I’m hooked! I used the rhinestone starter kit which made it so easy.

Inside the starter kit you’ll find Silhouette rhinestone material, transfer tape, backing board, rhinestones, a rhinestone brush, free template downloads and an instructional DVD.
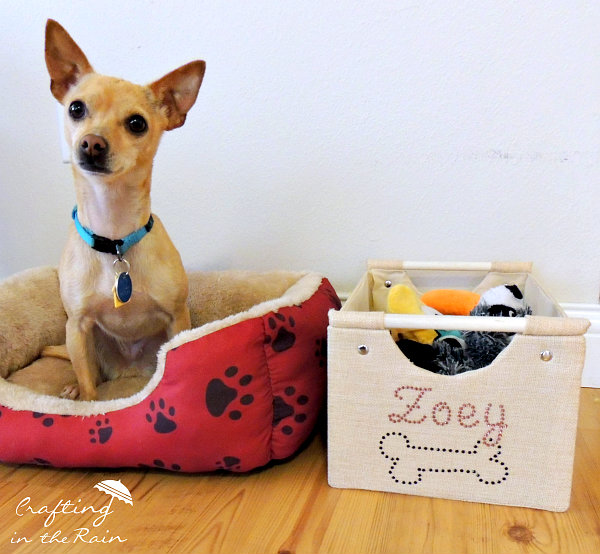
We recently adopted a 2 year old chihuahua and I wanted to dress up a few of the storage items we have for her.
Design your rhinestone template in Silhouette Studio–remember that you can’t resize the templates. The circles in the design are set for specific rhinestone sizes and resizing will mess that up.
I used the doggy bone and script letters from the Design Store, using the 10ss rhinestone size.
I chose to edit up the designs just a little bit. I cleared out all the circles from the middle of the bone (ungroup, then delete circles leaving just the outline.) Then I lined up the corner of the bone and the bottom of the “y” and deleted two circles that overlapped.

Now the image is ready to cut. Load the rhinestone template material into the machine (no need to put it on a mat) and under “cut settings” select the correct material type. Adjust the blade to 6 and then send to the machine.

When it’s finished cutting, unload and peel everything off the mat. Cut the design out (the rest of the material is still usable for more templates) and peel the template from the white backing. It is adhesive, so press it down on the board.
Since I was using two colors of rhinestones, I had to hand place a few of the black rhinestones in the bone where it overlapped with the name.
Then I could pour a bunch on and use the brush to swirl them around until all the bone was filled. The stones are weighted, so after a bit of time they will all fall into holes. Repeat with pink stones for the name. Remove all extra stones.

Cover with a piece of transfer tape and press down over the design to pick up all the rhinestones.
These can be applied to any fabric surface, so lay it down, cover with a thin cloth and iron down for 30-60 seconds, making sure to cover all parts of the design. I wanted this design on a little canvas basket I had for our dogs’s toys.

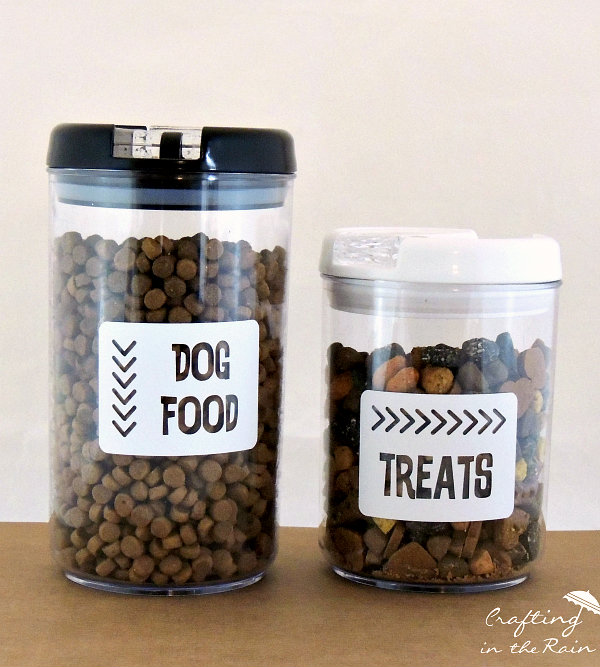
And here it is all done! Isn’t it cute! I also cut some vinyl labels for the treat and food containers we have for her.
I combined the arrow journal cards and LD Kracken fonts and cut them from white vinyl.
To pick up your own Silhouette check out some of their hot deals going on right now for Black Friday!
And here’s all the great Black Friday weekend sales going on for you!! Use the code RAIN to get your deals!

CAMEO Bundle #1–CAMEO machine, Designer Edition software upgrade, Dust Cover, 4 Tools and $25 Download card to the Silhouette Design Store for $269.99

CAMEO Bundle #2–CAMEO machine, Design Edition software upgrade and 1 free year to Club Silhouette for $299.99

