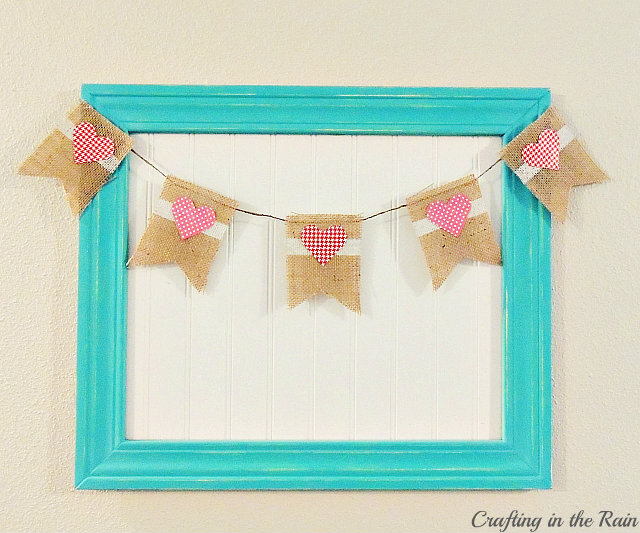
Gemia from Phat Quarters Blog invited me to do a tutorial swap with her. So we each picked something from each other’s blog to recreate. Fun, right? I tied it right in with my monthly craft group and made a paper bag Easter banner. (some links are affiliate)

Here’s Gemia’s original paper bag banner. Be sure to click on her version! Here’s how I made my take on it.
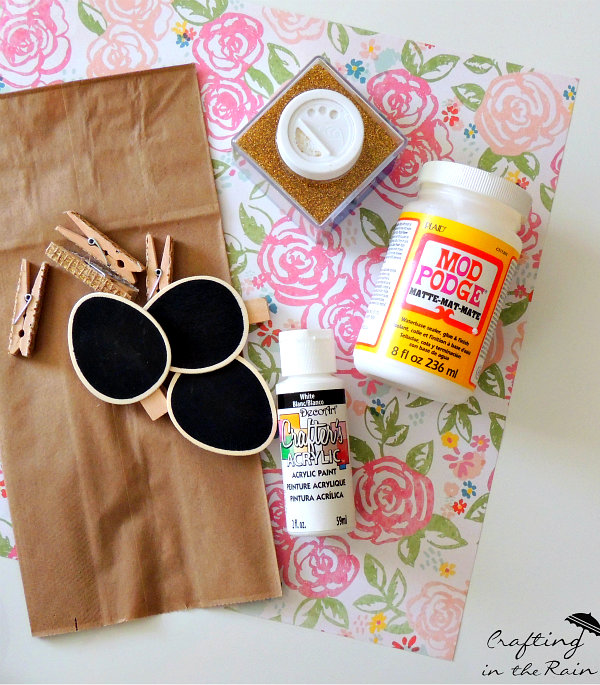
Supplies:
5 brown lunch sacks
Gold clothes pins and chalkboard egg clips (found at Michaels)
White paint
Mod Podge or other glue
Gold glitter
Pretty paper
Twine
Start by cutting a triangle out of the bottoms of the bags to make flag points.
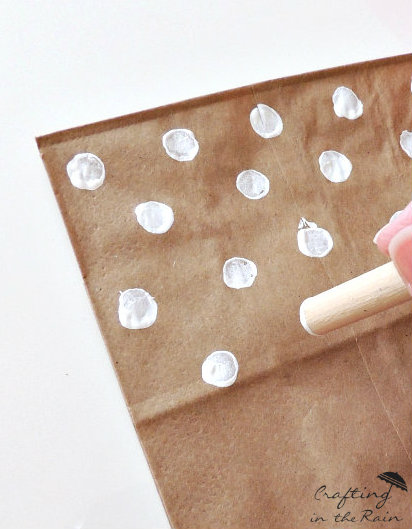
Use the end of a paint brush or pencil eraser to paint dots on the bags.
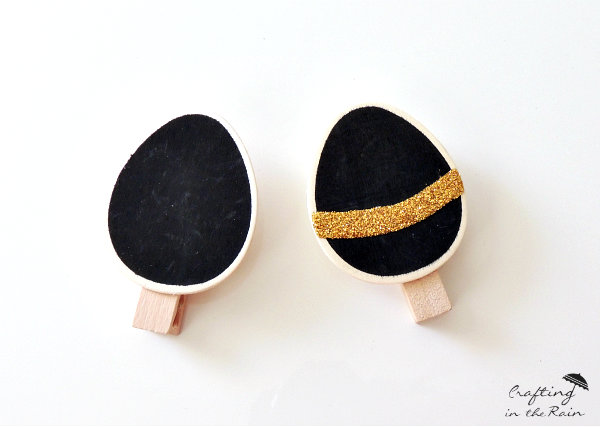
Add a glitter stripe to each egg shape and cover with glitter.

While the glue and the paint dry, cut paper to 2.75 inches x 5.5 inches. Add a solid color behind that’s cut to 3 inches x 5.5 inches. Glue together and glue to the paper bags.

Use clothespins to hang bags from the twine and add eggs in between. Then string up your new decoration!

For more Easter posts go visit all these links.

Happy Spring Watercolor Coloring Print by seven thirty three
Easter Bunny Treat Jars by Happiness is Homemade
Spring Mason Jar Vase by Here Comes the Sun
Jelly Bean Bunny Favor by Made to be a Momma
Oversized Painted Easter Eggs by Dolen Diaries
Pom Pom Easter Chicks by Practically Functional
Paper Bag Easter Banner by Crafting in the Rain (you’re here!)