So many cute dies and embossing folders available – START SHOPPING!
I’m just getting started with embossing with my Cricut Cuttlebug, and I’m having lots of fun so far! I’m going to show you how to use the Cuttlebug embossing folders along with a couple of fun ways to use and “dress” up your embossed pieces. If you’re new to using a Cuttlebug or thinking of getting one, we can learn about it together. If you’re a seasoned pro, I hope you’ll leave me a comment about how you love to use embossed pieces!
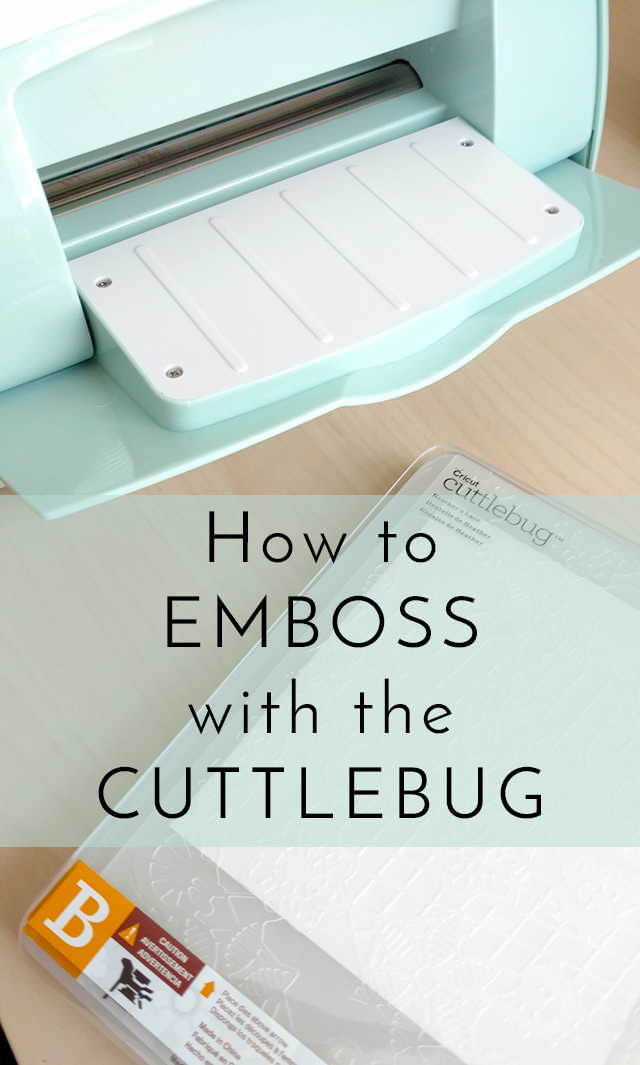
Cricut Cuttlebug
Heather’s Lace embossing folder
Cardstock: black, white, blue
Black glitter vinyl
Cricut Explore Air 2
Decofoil
Glue pen
Craft chalk
Cotton balls
Black ink pad
Step 1: Cut all cardstock to the right size.
Black: 8.5 x 5.5 inches
White: 4 x 5.25 inches and 1 x 2 inches
Blue: heart shape
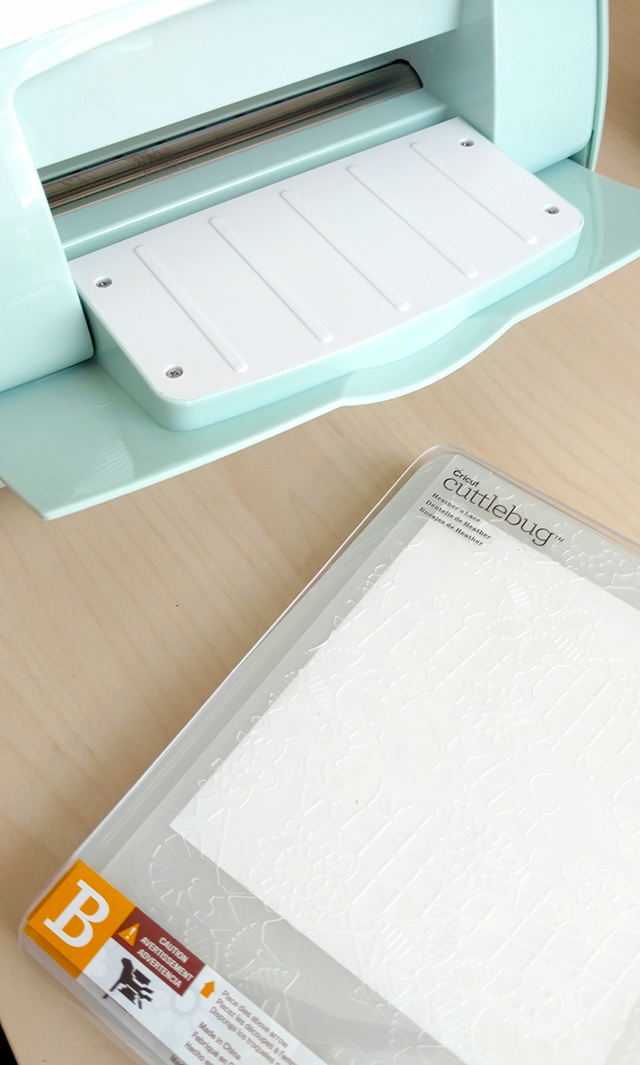
Step 2: Emboss. The Cuttlebug is really easy to use. Fold the two sides down onto a flat, clean surface and this will create the suction that holds the machine securely in place. Put the larger white paper into the embossing folder (I used Heather’s Lace) and close the folder back up. Layer the A plate, a B plate, the folder with the paper inside, and the last B plate. Use the handle to roll this whole “sandwich” through the machine. When it completely comes out the other side, remove the paper from the folder.
Repeat the process with the blue heart and the folder that comes with the Cuttlebug machine – the quatrefoil.
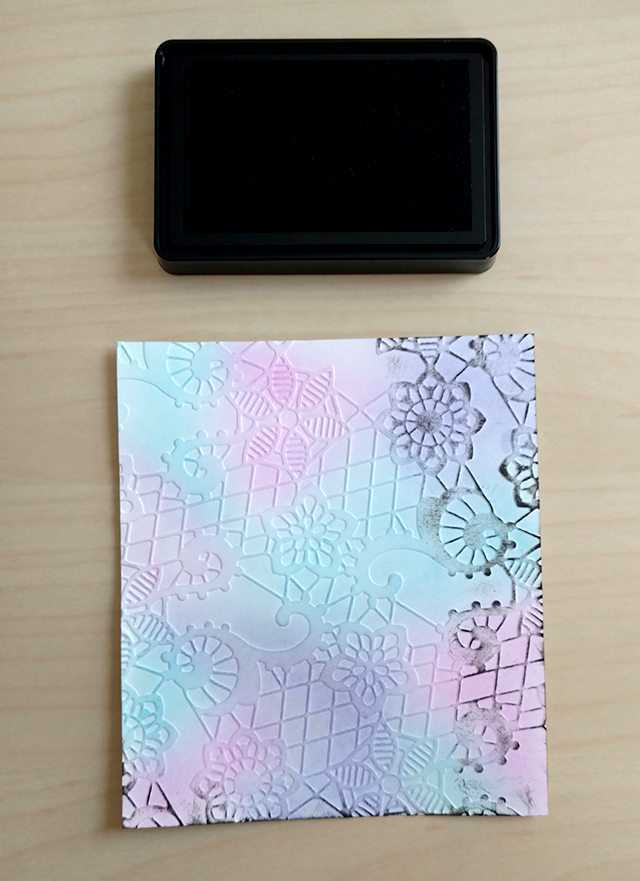
Step 3: Decorate. This is where it really starts to get fun. On the embossed white piece I used cotton balls to rub craft chalk all over the pattern. Then I used a black ink pad and just lightly rubbed it across the surface. It gets this cool rainbow background and the raised pattern pops even more with the black on it.
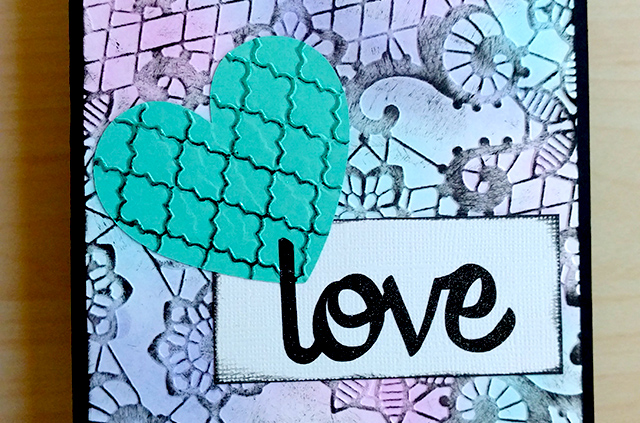
For the heart, I used a glue pen to apply just a bit of glue on the raised pattern. Let it nearly dry, then press a foil sheet down on it and rub. Peel off the foil sheet and the shiny foil sticks to the glue on the pattern!

I also used the black ink to darken the edge of the whole rainbow piece and the smaller white piece.
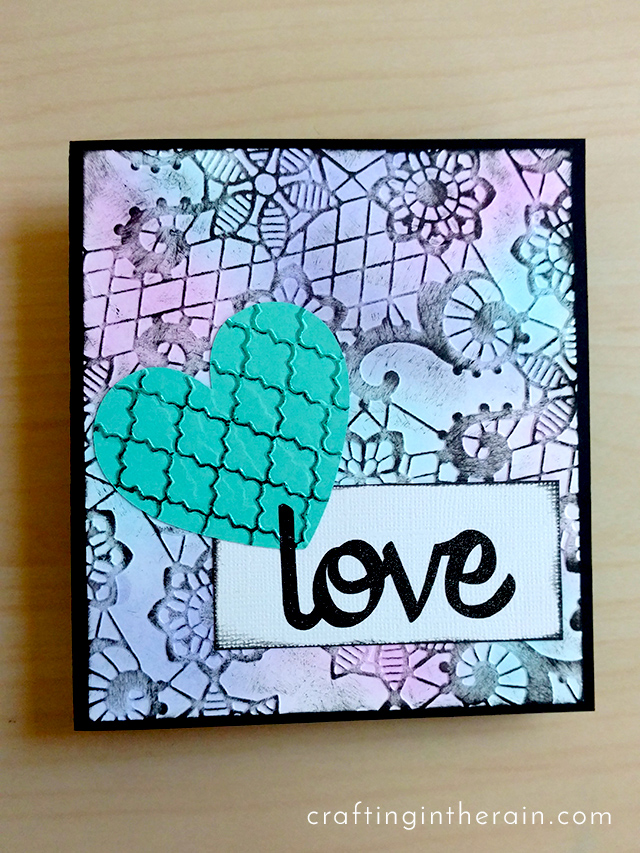
Step 5: Assemble the card. Fold the black cardstock in half (if you cut it with your Cricut explore, add a score line to the center to make it even easier!) Glue the embossed white paper to the front of the card. Then glue down the heart and the smaller white piece. Cut out the word “love” from black glitter vinyl – or customize it to something else.
Tell me what you think! And what do you love to use the Cuttlebug for?
This is a sponsored conversation written by me on behalf of Cricut. The opinions and text are all mine.