Inspired by this cute design from EmmylouBeeDoo, I knew I had to make my own. For the visual learners, here’s a great video tutorial from Clever Someday.
I’ve done a few painted shirts already, and it’s pretty addicting.
Since I was making these for the girls, I wanted to use pink, even if it’s not the real St. Patrick’s Day color.
Here’s the freezer paper stencil (designed in Make the Cut, of course, and cut on my Black Cat Cougar) after it’s been ironed on to a pink shirt. You can also hand cut stencils if you don’t have an electronic cutter.

Next I painted it with green fabric paint, and here’s how that looks. My 5 year-old loves it!

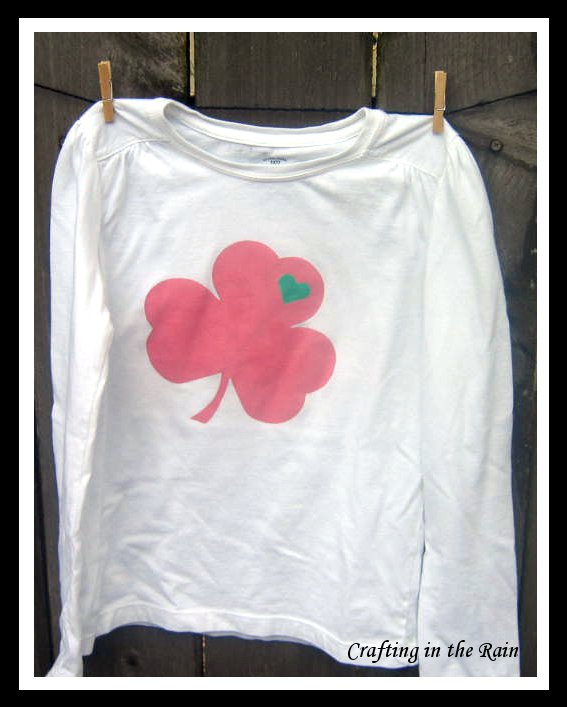
This was done on a white shirt. I actually thought it would be really cute to do a dark pink heart on this one, but knew my 1st grader wouldn’t want to wear it without any green.
I’ll sign off with a couple of my own tips
- Prewash (most fabric paints suggest this on the bottle)
- Make sure the waxy side of the freezer paper is down on the fabric–if it’s up, the wax melts to your iron!
- Be careful to not use too much pressure near the edges of the design or paint may squish under the edges of the freezer paper
- Use a hairdryer to speed up drying time
- You can do several layers of stencils to use different colors–just make sure each color is completely dry before ironing the next stencil down
- Don’t be afraid to mix colors before painting. I’ve lightened up several colors with white
And for anyone interested, here’s the mtc file to download.
