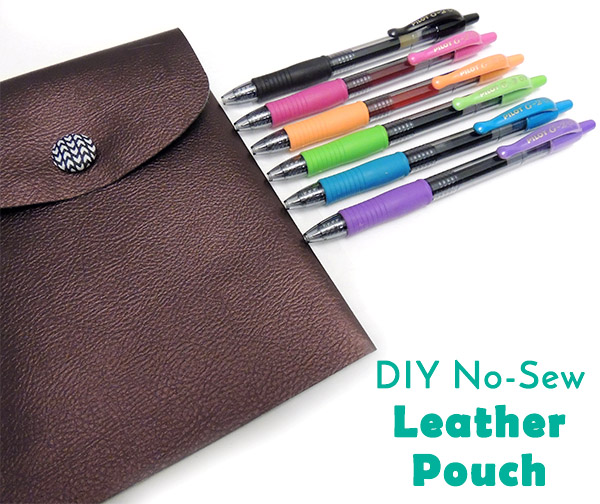
Do you have a best pen for lists and planning? New year, or back-to-school, means calendaring, lists, organization, and for me – a new semester starting up. All of this means a lot of writing, so I’m happy that I’ve found a favorite pen to use – Pilot G2 Premium!
Even though my classes are online, I still do a lot of my own writing. I write out a to-do list every week of the readings, quizzes and assignments I have to do.
My different classes often have different due dates, and I’d never keep track of them all without a list for each class. Then as I’m reading, I also take some written notes. I remember things a lot more that way, even over typing out notes in a word document.
I’m in good company with my love for these pens, as Pilot G2 is America’s Go-2 ink gel pen, and the #1 selling gel ink brand in America (NPD, 2015). We’ve all figured out that the smooth writing style and comfortable grip are a winning combination!
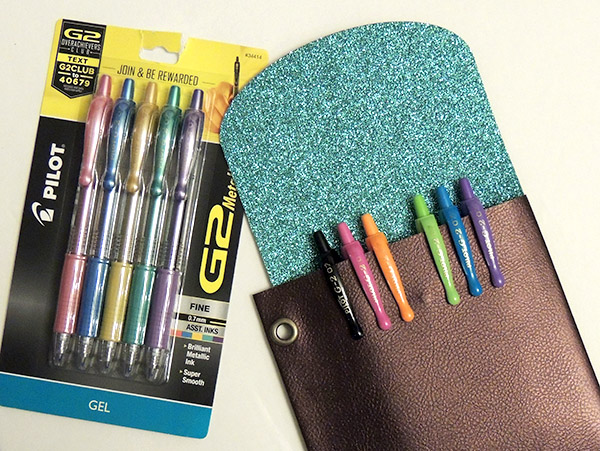
With my new collection of Pilot G2 Premium and Pilot G2 Metallic pens that I picked up at Target, I wanted a cute way to keep them organized and handy in my 3 ring binder where I keep all my school information. Here’s how to make your own DIY leather pencil pouch.
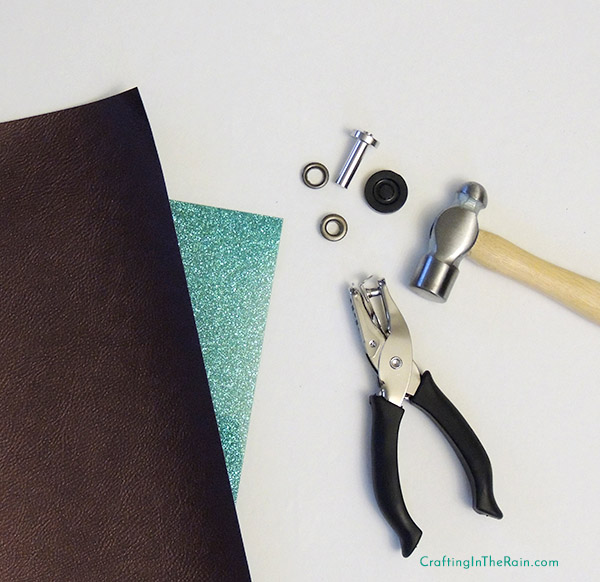
Materials:
- Leather
- iron-on vinyl
- Cricut Explore
- Free Cricut Design Space file
- Grommet kit
- Hole punch
- Fabric glue
- Small magnets
Tutorial:
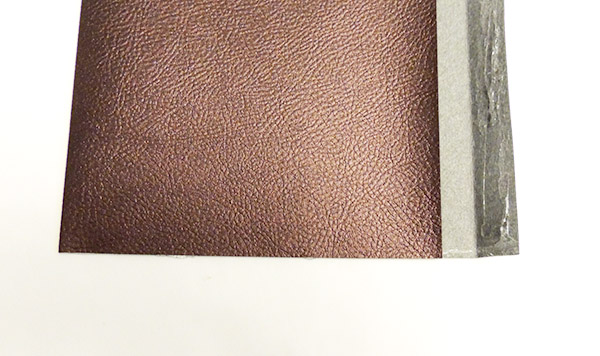
- Open the Design space file and cut the large piece out of Cricut leather (select the Cricut leather setting under custom materials) Cut the smaller pieces from iron-on vinyl. I used a glitter vinyl of course!
- Glue a small magnet to the curved part of the leather (the right side of the leather) and cover with with a fabric covered button, or a small leather flower. Align the iron on vinyl with the top rounded part of the vinyl and use a medium heat iron to apply it (do this to the back side of the leather!)
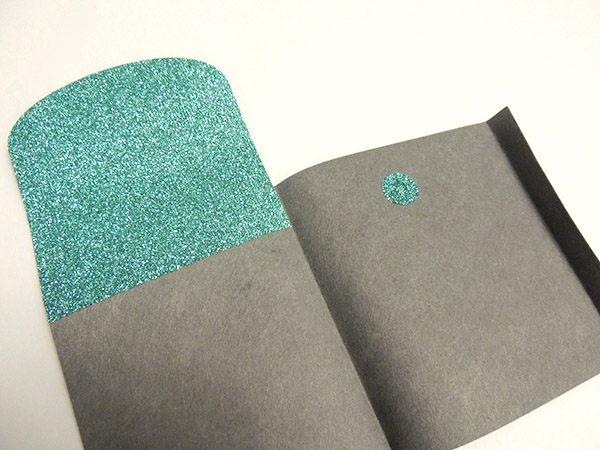
- Fold the long side of the leather piece and locate where the other magnet should be. Secure it will the circle piece of iron-on vinyl.
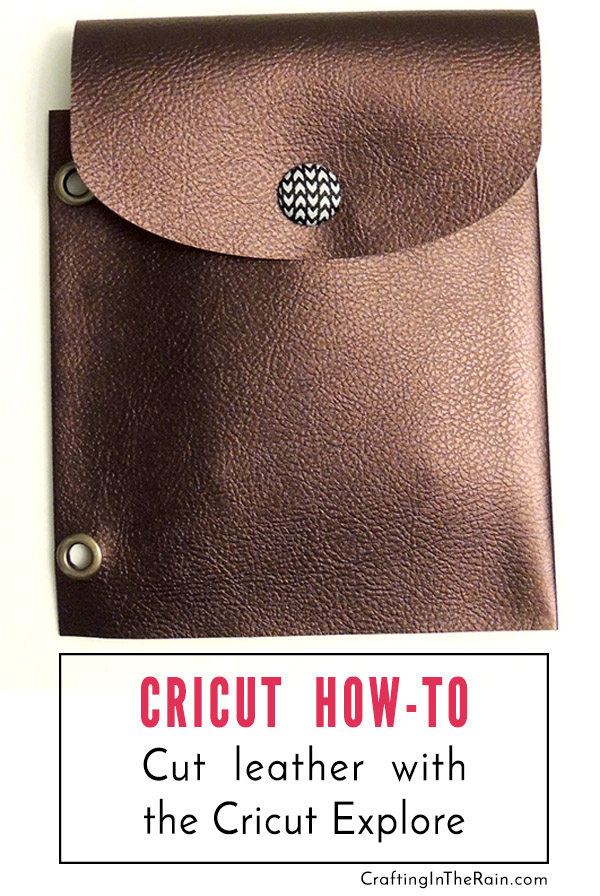
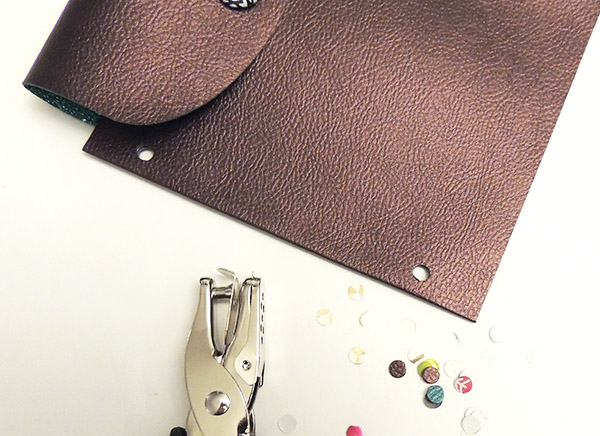
- Assemble the pouch by applying a small line of fabric glue along the bottom of the leather. Press and hold for several seconds til it dries. Repeat with the side. Fold to around to the back, which will leave a section on the side where the holes will go.
- Measure against your binder where the holes should go. If you’re using a regular binder, use a sheet of lined paper as a template. You could also measure to make it fit in a custom planner. Mark the hole location and punch with a regular hole punch.
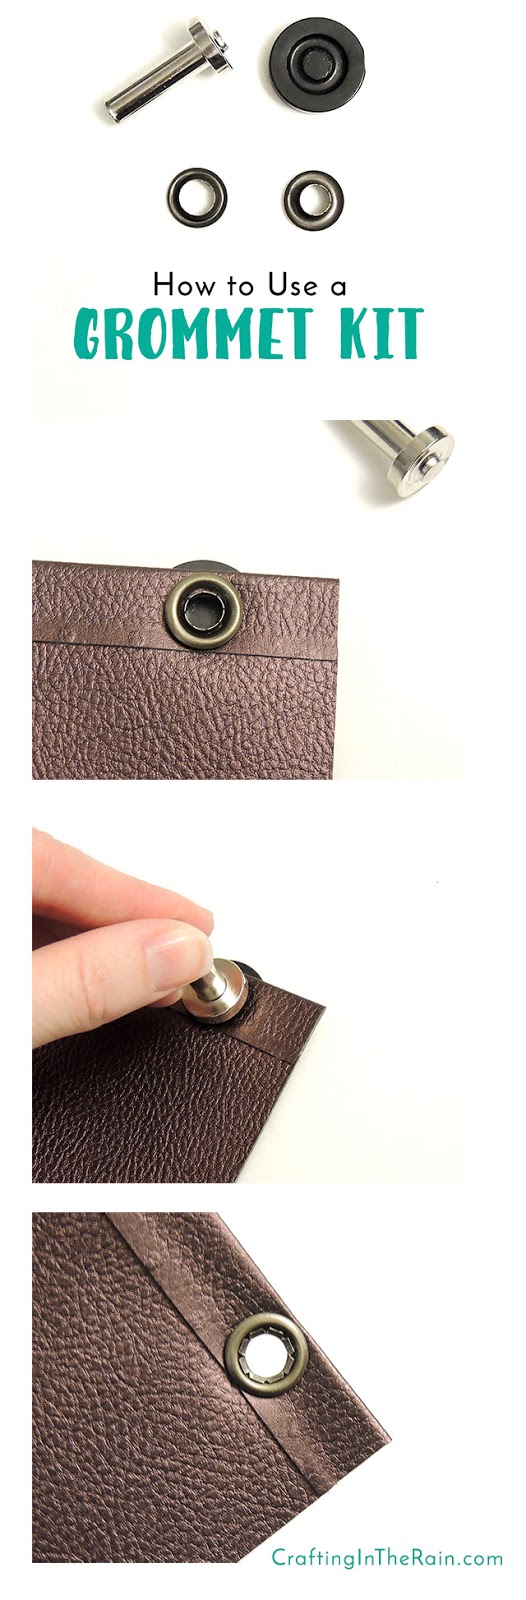
- Use the grommet kit to add a grommet set to each hole. Place the smaller ring in the plastic form and set it on a hard surface. Press the hole around it, set the larger ring on top and set the tool on top and tap a few times with a hammer. The metal will smoosh out and secure itself around the leather. Now you’ve got totally reinforced holes in the pencil pouch.
- Put it in your binder and add your new favorite pens and fold the top over. Then feel free to embellish your DIY pencil pouch any way you like – vinyl flowers or monogram, bits of ribbon or lace, and totally make it your own.
Have any questions? Ask away!
Start shopping
Cricut Explore
Faux Leather
Grommet Kit
Vinyl
G
Monday 3rd of October 2022
Such a cute, easy idea! I love these pens too, and this pouch will make a perfect home for them. Thanks!
21 amazing Cricut leather projects (& faux leather projects!)
Tuesday 5th of October 2021
[…] pretty no-sew leather pencil pouch by Steph at Crafting in the Rain isn’t just a tutorial about cutting leather on Cricut. It […]
WoodsofBellTrees
Thursday 12th of January 2017
I am totally in love with your pen pouch! I love to sew, but I LOVE no-sew projects just as much! #client