In case you’ve ever wondered why craft stores put all their Christmas stuff out so early, it’s totally so that you can go pick up these supplies to make a cute Christmas sign like this, and all the other great ideas you’ll see on Craft Lightning this week!


Supplies:
Premade wood sign blank (or extend the time of your project and make some from scraps you have at home)
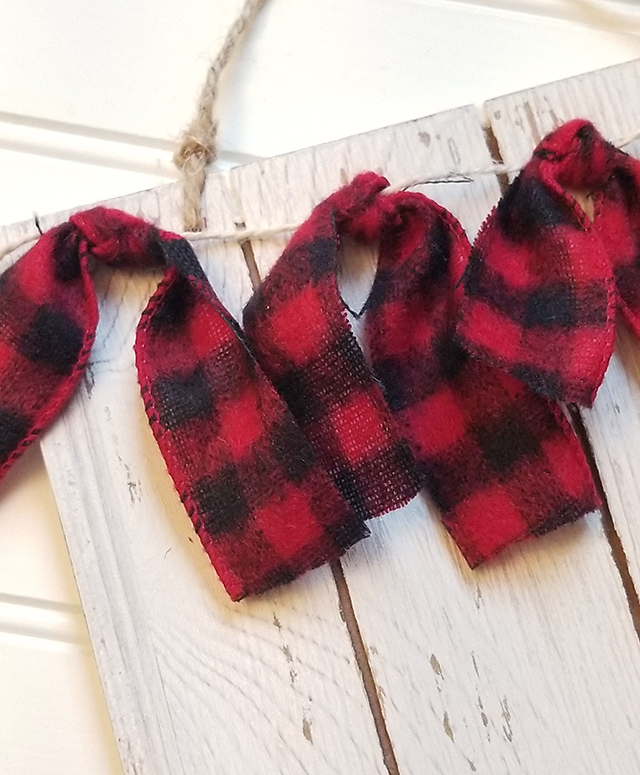
Ribbon (this buffalo check ribbon is soft and fuzzy as well as cute)
Twine
Faux Leather – wood grain
Cricut (Explore or Maker)
Hot glue
Make the ribbon banner by tying a few ribbon pieces around the twine. Secure the ends of the twine around the back of the sign with a bit of hot glue.
Use a Cricut to cut out the “25” from the wood grain faux leather and glue them down to the sign with hot glue. Read this post for some basics of cutting Cricut faux leather.
Wasn’t that so easy? Basically just two steps – make the banner and make the numbers, and your sign is done!
Now it’s ready to hang on a wall, above a fireplace, on the back of a chair or even your front door. Check out the rest of the Craft Lightning projects, and enjoy your Christmas making season.